Nightfire
New member
Admittedly, this is my third graphics thread since I've joined TDL.
Also admittedly, it's because I've been a user prone to become inactive randomly.
But, since I've vowed to come back on here at least once a week, I think I'll start another thread - this time, for real.
On top of all of that, I feel that I've become much better at making graphics than I have previously.
kay's graphics thread.
table of contents/master list:
(for convenience. listed are tuts and graphics i put up, categorized)
Requested Tuts:
Coloring - The Maine [DaydreamBeliever]
Coloring Tuts:
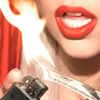
1 - (Example: Gaga Lips)
Icons (in groups of four unless stated otherwise):
Shaun White
Banners/Headers:
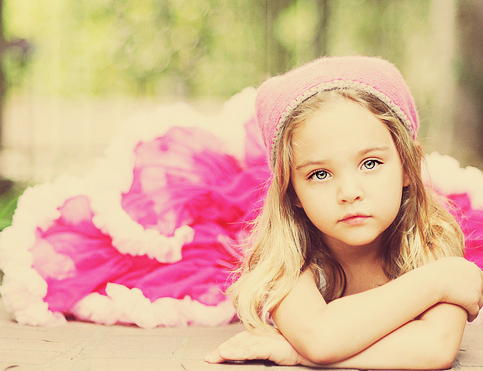
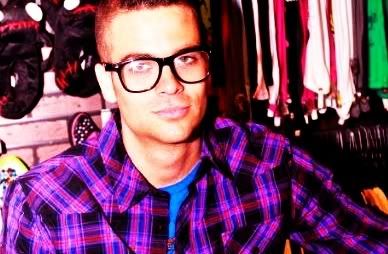
Stock, All Time Low, Mark Salling.
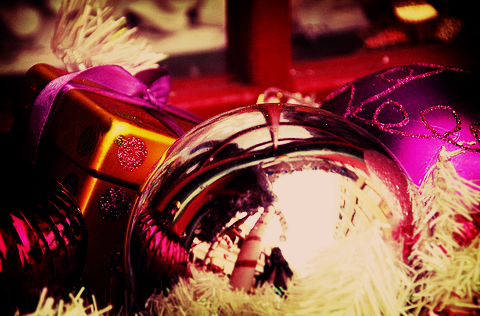
Stock, +Christmas.
Requested Banners/Headers:
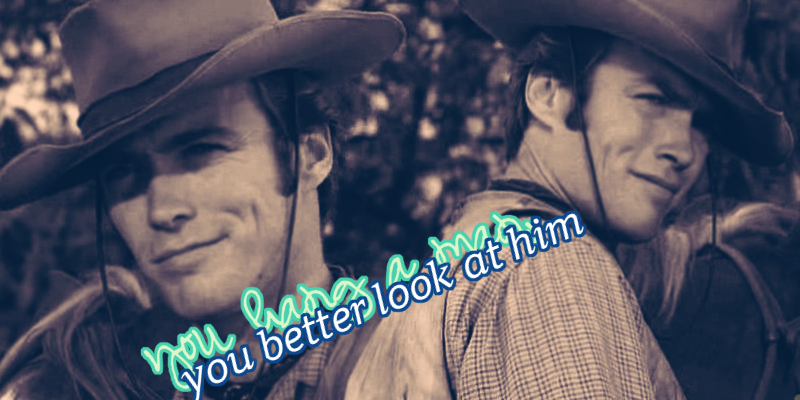
Clint Eastwood - LJ Header, ifavorfire - "You hang a man, you better look at him"
Wallpapers:
(none to display)
Also admittedly, it's because I've been a user prone to become inactive randomly.
But, since I've vowed to come back on here at least once a week, I think I'll start another thread - this time, for real.
On top of all of that, I feel that I've become much better at making graphics than I have previously.
kay's graphics thread.
table of contents/master list:
(for convenience. listed are tuts and graphics i put up, categorized)
Requested Tuts:
Coloring - The Maine [DaydreamBeliever]
Coloring Tuts:
1 - (Example: Gaga Lips)
Icons (in groups of four unless stated otherwise):
Shaun White
Banners/Headers:
Stock, All Time Low, Mark Salling.
Stock, +Christmas.
Requested Banners/Headers:
Clint Eastwood - LJ Header, ifavorfire - "You hang a man, you better look at him"
Wallpapers:
(none to display)
rules.
If you do decide to use something you find here, or if you request something, please credit me. If you're using it here, just credit with my username. If you're using it elsewhere, credit jetspray (my LiveJournal graphics community.)
requesting (graphics)
Can either be completed through VM, PM, or just by replying to this thread. Please include either a HQ picture or a description of what you'd like to have on your graphic, including text and who/what should be included in it.
requesting (tuts)
Can either be completed through VM, PM, or just by replying to this thread. Please include what base image I should use for the tut, what you want to be done to the picture, etc.
Note: I'm limited to GIMP at the moment, which means no selective coloring or PSDs - sorry! But everything will be translatable into other programs.
Note: I'm limited to GIMP at the moment, which means no selective coloring or PSDs - sorry! But everything will be translatable into other programs.
♥
Last edited:
")